What I Got Wrong When I Laid My Own Garden Patio
, by Meabh Whelan, Driveways and Groundworks
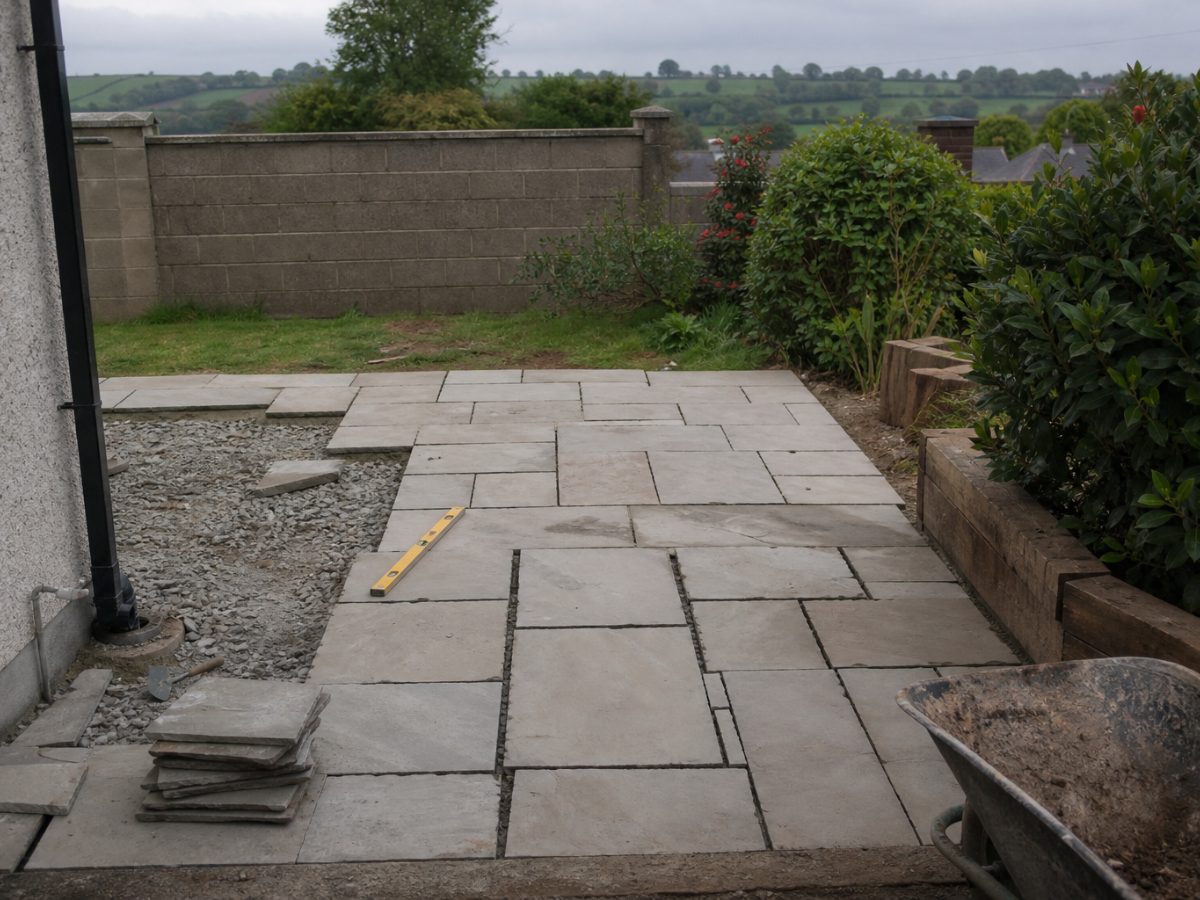
A few summers back I decided to lay a patio in the back garden. About 30 square metres, natural sandstone flags, nothing mad. I watched hours of videos, read forums, bought the right tools. I was confident going in. By the following spring, three slabs had sunk, water was pooling against the back wall, and two joints had already cracked open. I lifted the whole lot and started again.
Here is what I did wrong and what I would do differently. If you are planning the same job, save yourself the second dig.
The sub-base was too shallow
This was the big one. I put down about 75mm of compacted hardcore. It felt solid underfoot and I thought that was enough. It was not. The ground underneath moved slightly over winter, the way Irish ground tends to when it gets saturated and then dries out again, and that movement pushed up through the thin sub-base and into the slabs.
The standard recommendation for a patio in a domestic garden is 100mm of compacted hardcore as an absolute minimum. If your ground is soft, or if you have heavy clay soil, go to 150mm. You want to use Type 1 MOT stone, not random rubble or whatever was sitting behind the shed. Compact it in layers with a plate compactor, not just a hand tamper. Hiring a plate compactor for a day costs somewhere around 60 to 80 euro and it is not optional on a job this size. I skipped it the first time. The second time I did not.
The mortar mix was wrong
I used a fairly wet mix, roughly 4 parts sharp sand to 1 part cement, because I thought it would be easier to bed the slabs into. The problem with a wet mix is that it shrinks as it cures, and natural stone is porous enough that moisture moves through it in ways that cause problems later. Patches of my slabs had gone white and powdery by spring. That is efflorescence, and while it is partly cosmetic, it told me the water was moving through the bed in ways it should not have been.
For natural stone flags, a semi-dry mix is better. Think of it as being barely damp, not wet. It should clump when you squeeze it but not release water. This gives you a more stable bed that does not shrink the same way. Some people use a full mortar bed, others use the five-spot method where you place mortar at the corners and centre of each slab. I used five-spot the first time and the slabs flexed slightly. Full bed the second time and they have stayed put.
I did not create enough fall
This one felt like a small detail at the time. The general rule is a fall of about 1 in 80 away from any structure, meaning roughly 12mm drop for every metre of patio running away from the house. I eyeballed it and was more or less flat. The result was that after heavy rain, water sat on parts of the surface and eventually found its way down the house wall.
Get a long spirit level and a piece of timber cut to the right height to check your fall properly as you go. It sounds tedious. It is. Do it anyway. The fall needs to be consistent across the whole surface, not just an average. Low spots collect water and low spots are where you will get problems.
Drainage planning matters before you even start. Think about where the water is going to go once it runs off the patio edge. If you are running a large area of hard standing up close to a fence or boundary, you may need a channel drain along one side. The difference between permeable and impermeable surfaces is worth understanding before you commit to a layout, because it affects both drainage design and, in some cases, planning requirements.
I grouted too soon
I was impatient. The slabs went down on a Thursday, it stayed dry Friday, and I started grouting Saturday morning. The mortar bed had not fully cured and when I walked on the slabs to grout them, a few shifted slightly. Not dramatically, but enough to crack the joints I filled that day once the whole thing had settled.
Leave it at least 24 hours before you walk on freshly laid slabs in warm weather. In cooler or damp conditions, 48 hours is safer. Do not grout until you are sure the bed is solid. Press each slab firmly before you start and listen for any hollow sound. A hollow slab is not properly bedded and needs to come up and be reset.
Joint width was inconsistent
I used plastic spacers for some slabs and guessed on others. The result looked amateurish up close and made grouting awkward. Pick a joint width, 10mm works well for most natural stone, use spacers throughout, and take your time setting each slab level before you move on.
The second attempt has been down for two winters now with no movement and no pooling. It took longer than the first but it was not harder. It just required more patience than I had the first time around.